Arrow Tip - How to make Lighted Nocks
by Margi Jones
(Indiana)

Arrow Nock Cutting Position


|

|

|

|
Hi There! My story really isn’t a story, but rather a tip as how to make your own lighted nocks and fairly inexpensively compared to a product that is normally costly!
In today’s economy it’s hard to be able for many people to be able to afford specialty nocks. So, I thought I would share this tip on how to make your own! They work well and only cost a fraction of the cost! Make sure to read out the entire thing before trying! I suggest printing it out to have handy! Good luck and hope my tip helps you to find your game in the low light conditions! ~Margi~
How To Make Lighted Arrow Nocks
Note: These instructions only work for carbon arrows!!
PLEASE READ ALL INSTRUCTIONS PRIOR TO DOING ANY PART OF INSTALLATION OR SETUP
Materials you will need:
1. 1 Rod-N-Bobbs bobber light Beacon (COLOR RED LIGHT) (you can find these in the Fishing department at most outdoor stores I buy mine at Gander Mountain in the bobber isle for $2.99 and Battery life is 21 hours) You can use other bobber replacement lights. I like these because you push in to turn them on and pull to turn them off.
2. - 2 nocks that are the size that fit your arrows
3. - Arrow glue or super glue I prefer Easton’s Quick Bond Adhesive or Bohning’s Fletch Tite Platimum adhesives but any popular good arrow glue or super glue will work (best to experiment and see what works best for you) Carbon Express Bond It also works very well. (YOU ONLY NEED TO USE 1!! TYPE OF THESE GLUES FOR THE WHOLE PROCESS)
4. – Sandpaper or a sanding block
5. – Pliers (Gerber or Leatherman or needle-nose)
6. – A saw to cut the nock-Arrow saw, hack saw or a Dremel tool or whatever you have to cut the nock (YOU ONLY NEED 1 OF THESE CUTTING TOOLS)
FIRST STEP: The first thing you want to do is to take 1 of the nocks and cut it just below where it changes size and gets bigger. After you have cut the nock you need to sand around the edge that you cut to make it able to fit into the arrow shaft (also sometimes you need to sand around the nock to ensure that it will fit properly into the arrow shaft. You want the piece to fit snuggly but not loose as this will be holding you nock inside the shaft) sand and check for snugness in the shaft.
STEP TWO: Once you have achieved the proper fit of that piece pull it out of the shaft
and prepare to glue it to the bottom portion of the Rod-N-Bobbs light.
Ensure that the Rod-N-Bobbs is glued into the nock piece strait or when you’re finished the nock will not fit into the arrow shaft.
Once you have finished the gluing and have ensured it’s in there straight, wait for it to dry and then hold the piece upside down and put a couple drops of glue into the hole in the bottom of the nock piece to ensure a secure fit
STEP THREE: Now you will prepare and glue the second nock. (If Your Nock Is NOT See through or is a color like black or red you will have to drill a small hole to allow the light to shine through the nock as you can see it. I use orange nocks and recommend that you use nocks like these as they show the light very well). If you have to drill a hole, drill a very small hole from the open underneath side of the nock in between the nock grooves.
IF YOU HAVE SEE THROUGH NOCKS DO NOT DRILL A HOLE IGNORE THIS PART
Check the nock for proper fit in the Arrow shaft. You want it to be snug but loose enough to be able to pull it out and push it in a little bit. However you do not want it too loose because it will affect you arrow flight (sand accordingly for proper fit) You are checking for the fit in the shaft just like you did with the nock piece. Although this time you are using the whole nock not just a piece.
Glue nock to the top of the Rod-N-Bobbs. Apply enough pressure to turn the Rod-N-Bobbs Light on and let glue dry manufacture says let it sit for 1 to 2 minutes I say give it 5 to 10 minutes to be safe (battery life is 21 hours what’s 10 minutes of use to ensure you have it glued all the way better safe than sorry) You only want to put glue around the edge of the tip of the Rod-N-Bobb (the rest of it has to move to be able to move up and down to be able to turn on and off)
STEP FOUR: After you have allowed enough time for the glue to dry, first test your nock by pushing and pulling to ensure that the glue dried properly and that your new lighted nock is working properly.
Once you have done this it is time to insert your lighted nock into the arrow shaft. When you do this ensure that the nock is aligned properly with the shaft and the vanes (the way you want to shoot it). Slowly and firmly insert the nock into your arrow shaft. It should seat in your arrow just like a regular nock. To turn on you push in (bowstring will push enough when you shoot to turn the nock on) to turn off you give the nock a light pull on most arrows when you pull the nock won’t even move enough to notice a difference from where it would be with a permanent inserted nock and if the nock was made properly will in no way affect your accuracy (might even improve it by giving you better in-flight sight of your arrow) When you shoot the force from the bowstring pushes the light on and it will stay on until you pull on the nock to turn it off.
DO NOT TWIST NOCK WHILE YOU’RE INSTALLING. ENSURE PROPER LINE UP (with the vanes) BEFORE YOU APPLY PRESSURE. WHEN DONE PROPERLY THESE NOCKS CAN BE GREAT FOR TARGET PRACTICE TO HELP YOU KNOW YOUR ARROWS FLIGHT PATTERN, SEEING YOUR ARROWS BETTER AT LONG RANGE SHOOTING AND RECOVERING YOUR ARROWS FROM THOSE NOT SO GREAT SHOTS. THEY CAN ALSO BE GREAT FOR HUNTING IN LOW LIGHT AND DAYTIME LIGHT TO KNOW SHOT PLACEMENT OF YOUR ARROW AND WHERE IT HIT YOUR GAME AND RECOVERY OF YOUR ARROW.
ONE THING I CAN TELL YOU IS THAT IT MIGHT TAKE YOU A COUPLE TRIES TO PERFECT PUTTING THESE NOCKS TOGETHER FOR YOUR ARROWS. PLEASE ENSURE YOU GIVE YOURSELF ENOUGH TIME AND USE GOOD PARTS TO ENSURE THAT YOU MAKE YOURSELF A QUALITY PRODUCT.
This document is available as a PDF so you can download and print it. How to Make Lighted Arrow Nocks PDF file.
If you do not have Adobe Reader you will need to install it first, it is a free download and you will find it here.
Return to May 2011 Contest Giveaway.
Want to learn how to hunt moose? Or are you wanting to increase your moose hunting skills?
Look no further!
Our moose hunting tips book is written with
not just the novice in mind, there are tips in the book that even the
most seasoned moose hunter will find of value.
The book includes 57 chapters, with more than 150 pages of information, jam packed with tips, techniques and discussions - The Ultimate Guide to Moose Hunting!
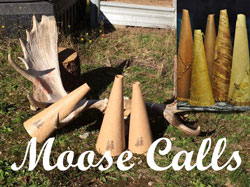
And don't forget to order one of our Fiberglass Moose Calls. In stock and ready to ship.

Good
morning Mark, I want to thank you again for your outstanding service. As luck
would have it, when I arrived home after work yesterday the moose call was in
my mail box. It figures when the Postal Circus is involved.
Ed
Manya from Tampa Bay said: My sister-in-law came down with a box of goodies from Alaska. One was a moose steak. I have thought about cooking it but didn't know how. I looked on your site. Thank you so much for having such wonderful ways to fix moose.
Laurie wrote to us:
"I just wanted to let you know how much I love
your site and how much I appreciate all the help you give everyone. I have
learned so much from this site. It is my go to guide for moose hunting. You
have a great way with words and make this site very approachable for new
hunters and very informative for both new and veteran hunters alike. Thank you
for all your hard work. Again, it's a fantastic site, keep up the great work."
Dale emailed us:
Cool website, nice to see others that consider the moose as a majestic creature. We are going to park the quads this year and use the boat, get away from the others. Will let you know if it is a successful hunt.
Recent Articles
-
Do Moose Anlers Get Larger Every Year
Jan 02, 24 09:50 AM
 Do moose get larger every year with their antlers, or could one 'top out' at maximum size and their antlers will continue to get larger every year? If
 -
Laser Engraved Moose Coaster
Dec 18, 23 10:34 AM
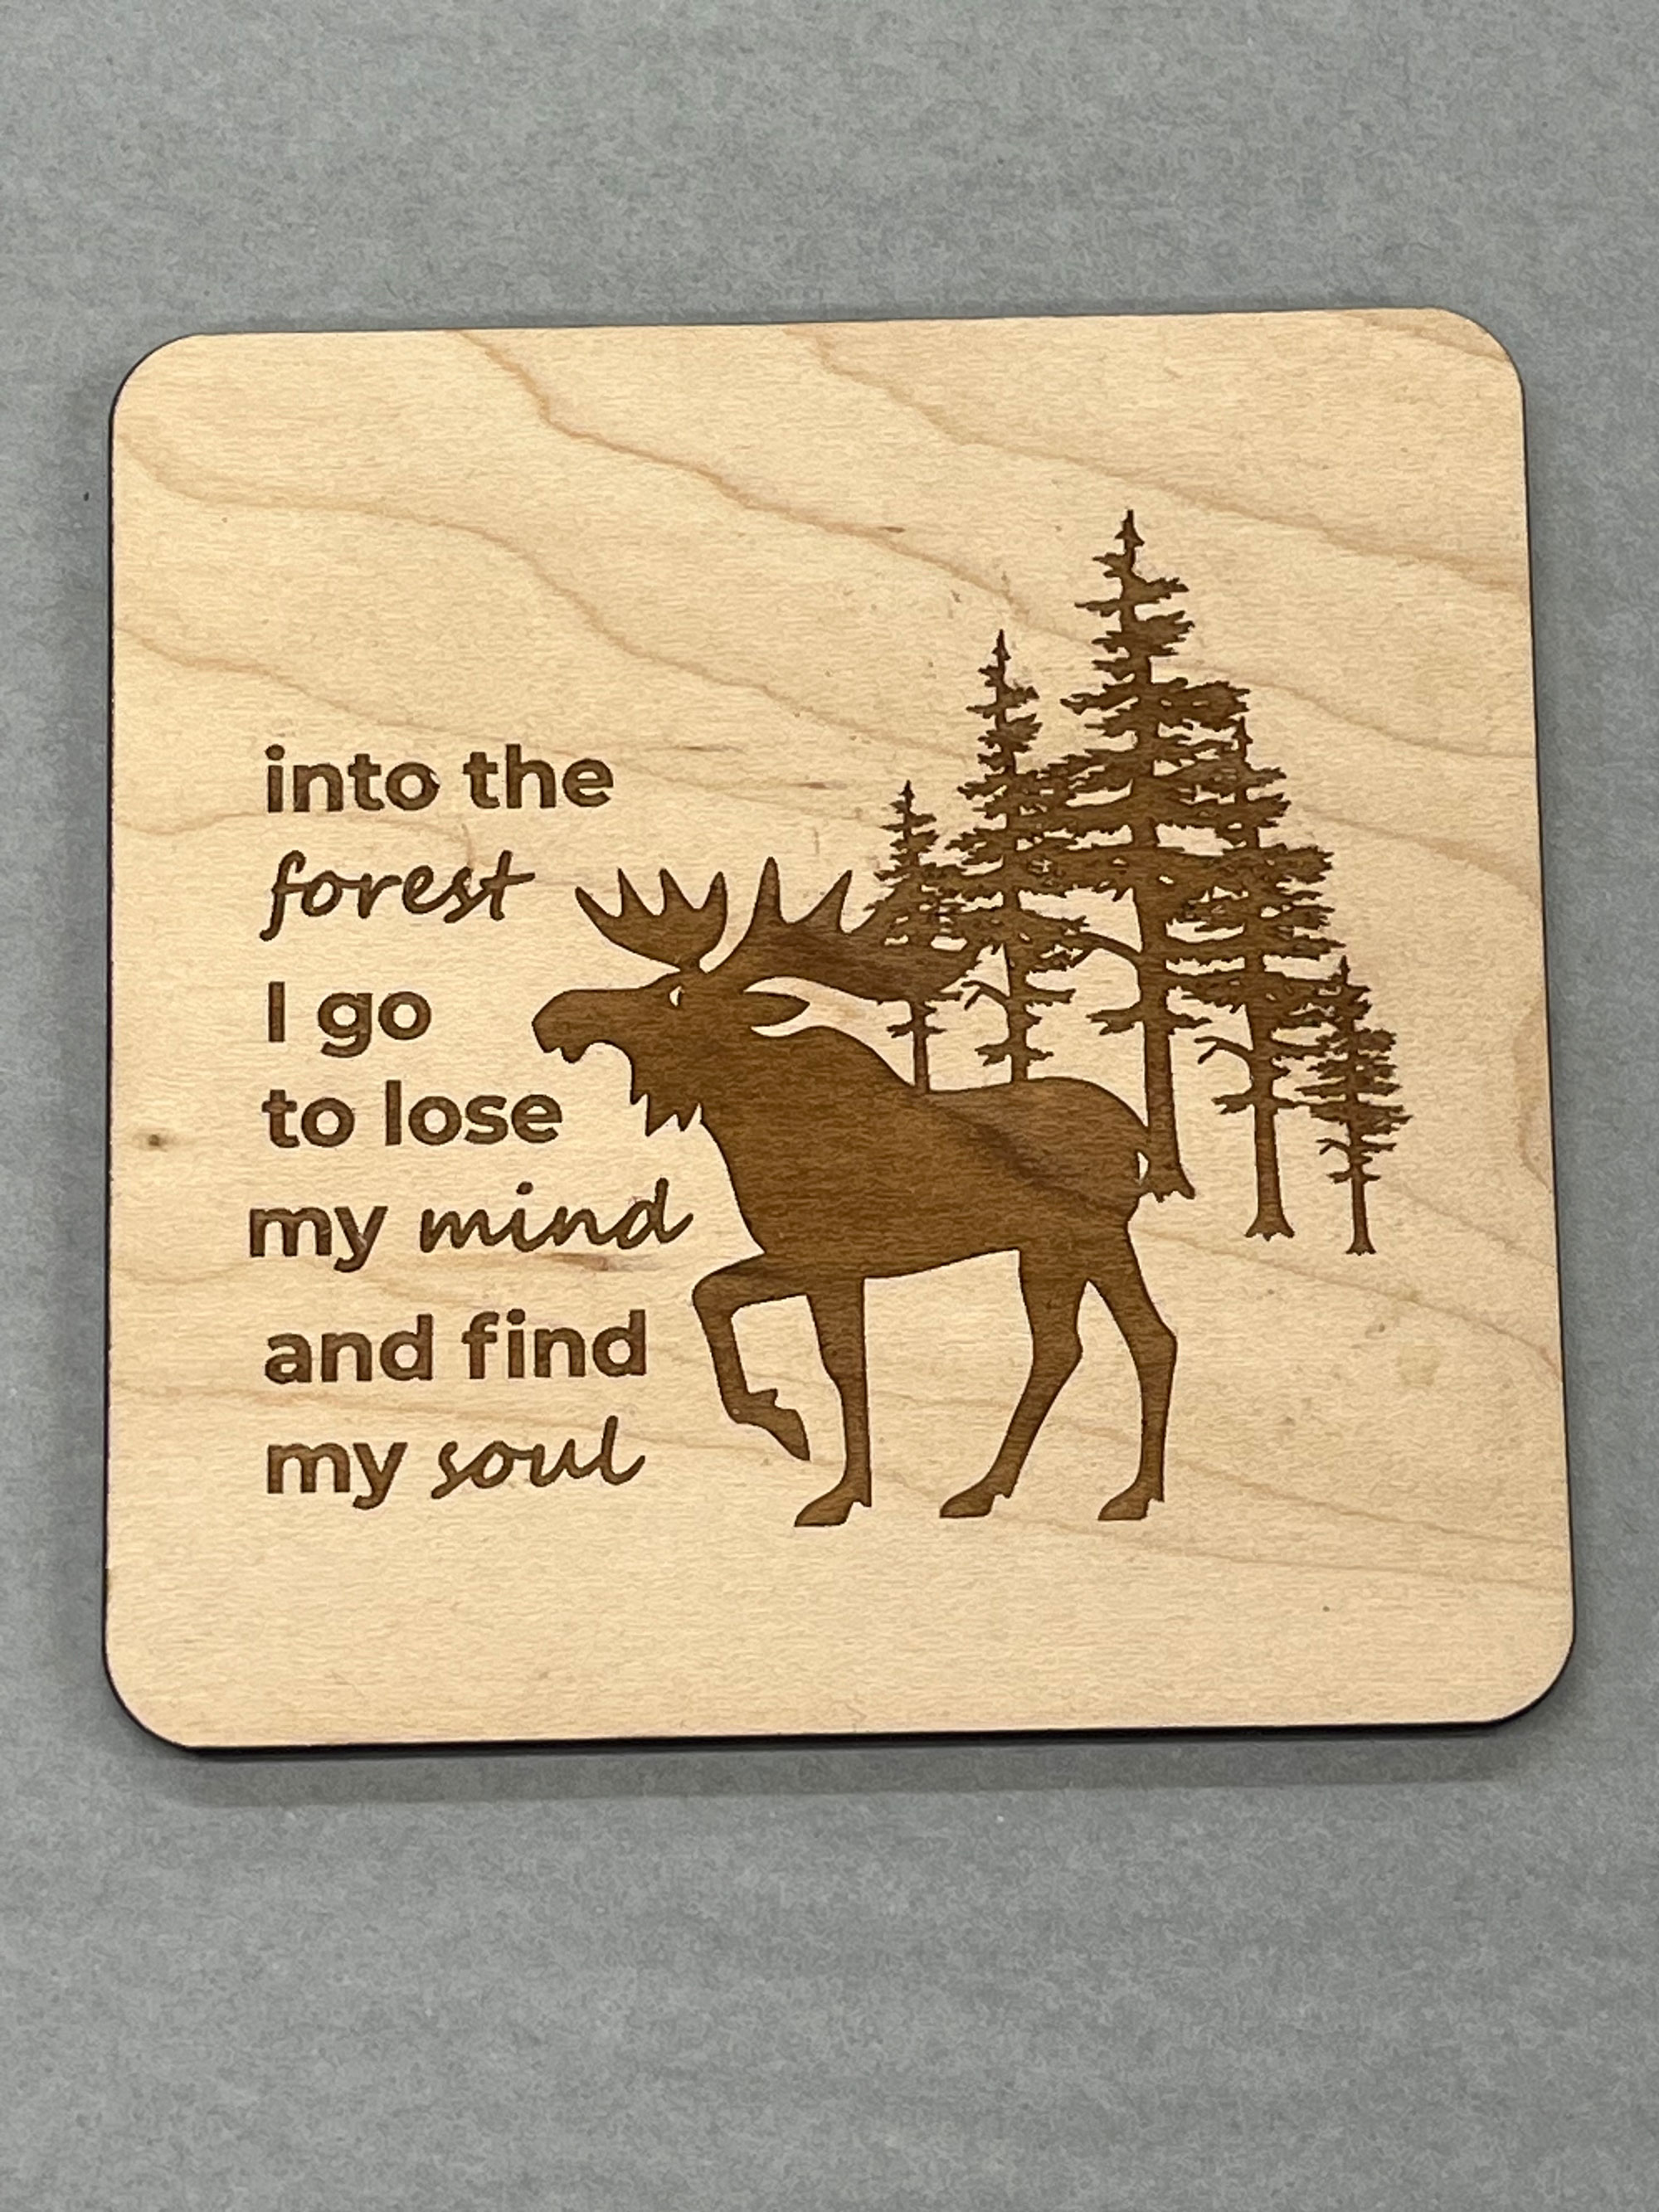 Laser Engraved Moose Coaster - "Into the forest I go, to lose my mind and find my soul"
 -
Customizable Moose Keychain Fob
Dec 18, 23 10:19 AM
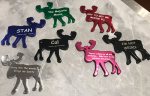 Customizable Moose Keychain Fobs in 5 colours. Add your own text to both sides.